How to Make a River Table
What You'll Need to Get Started:
- RIVER SET RESIN & HARDENER
- WOOD
- MELAMINE MOULD
- UNIVERSAL RELEASE WAX
- SILICONE SEALANT
- EPOXY PIGMENT
- MIXING CONTAINER
- DRILL MIXER / MIXING STICK
What to Consider Before Starting:
- AMBIENT TEMPERATURE IS BETWEEN 10 TO 30 DEGREES
- SURFACE IS LEVEL
- THE AREA YOU HAVE CAN BE LEFT UNDISTURBED FOR 3-5 DAYS
- RESIN QUANTITY
- VACUUM ANY DEBRIS IN THE WOOD
Step 1 - Melamine Mould
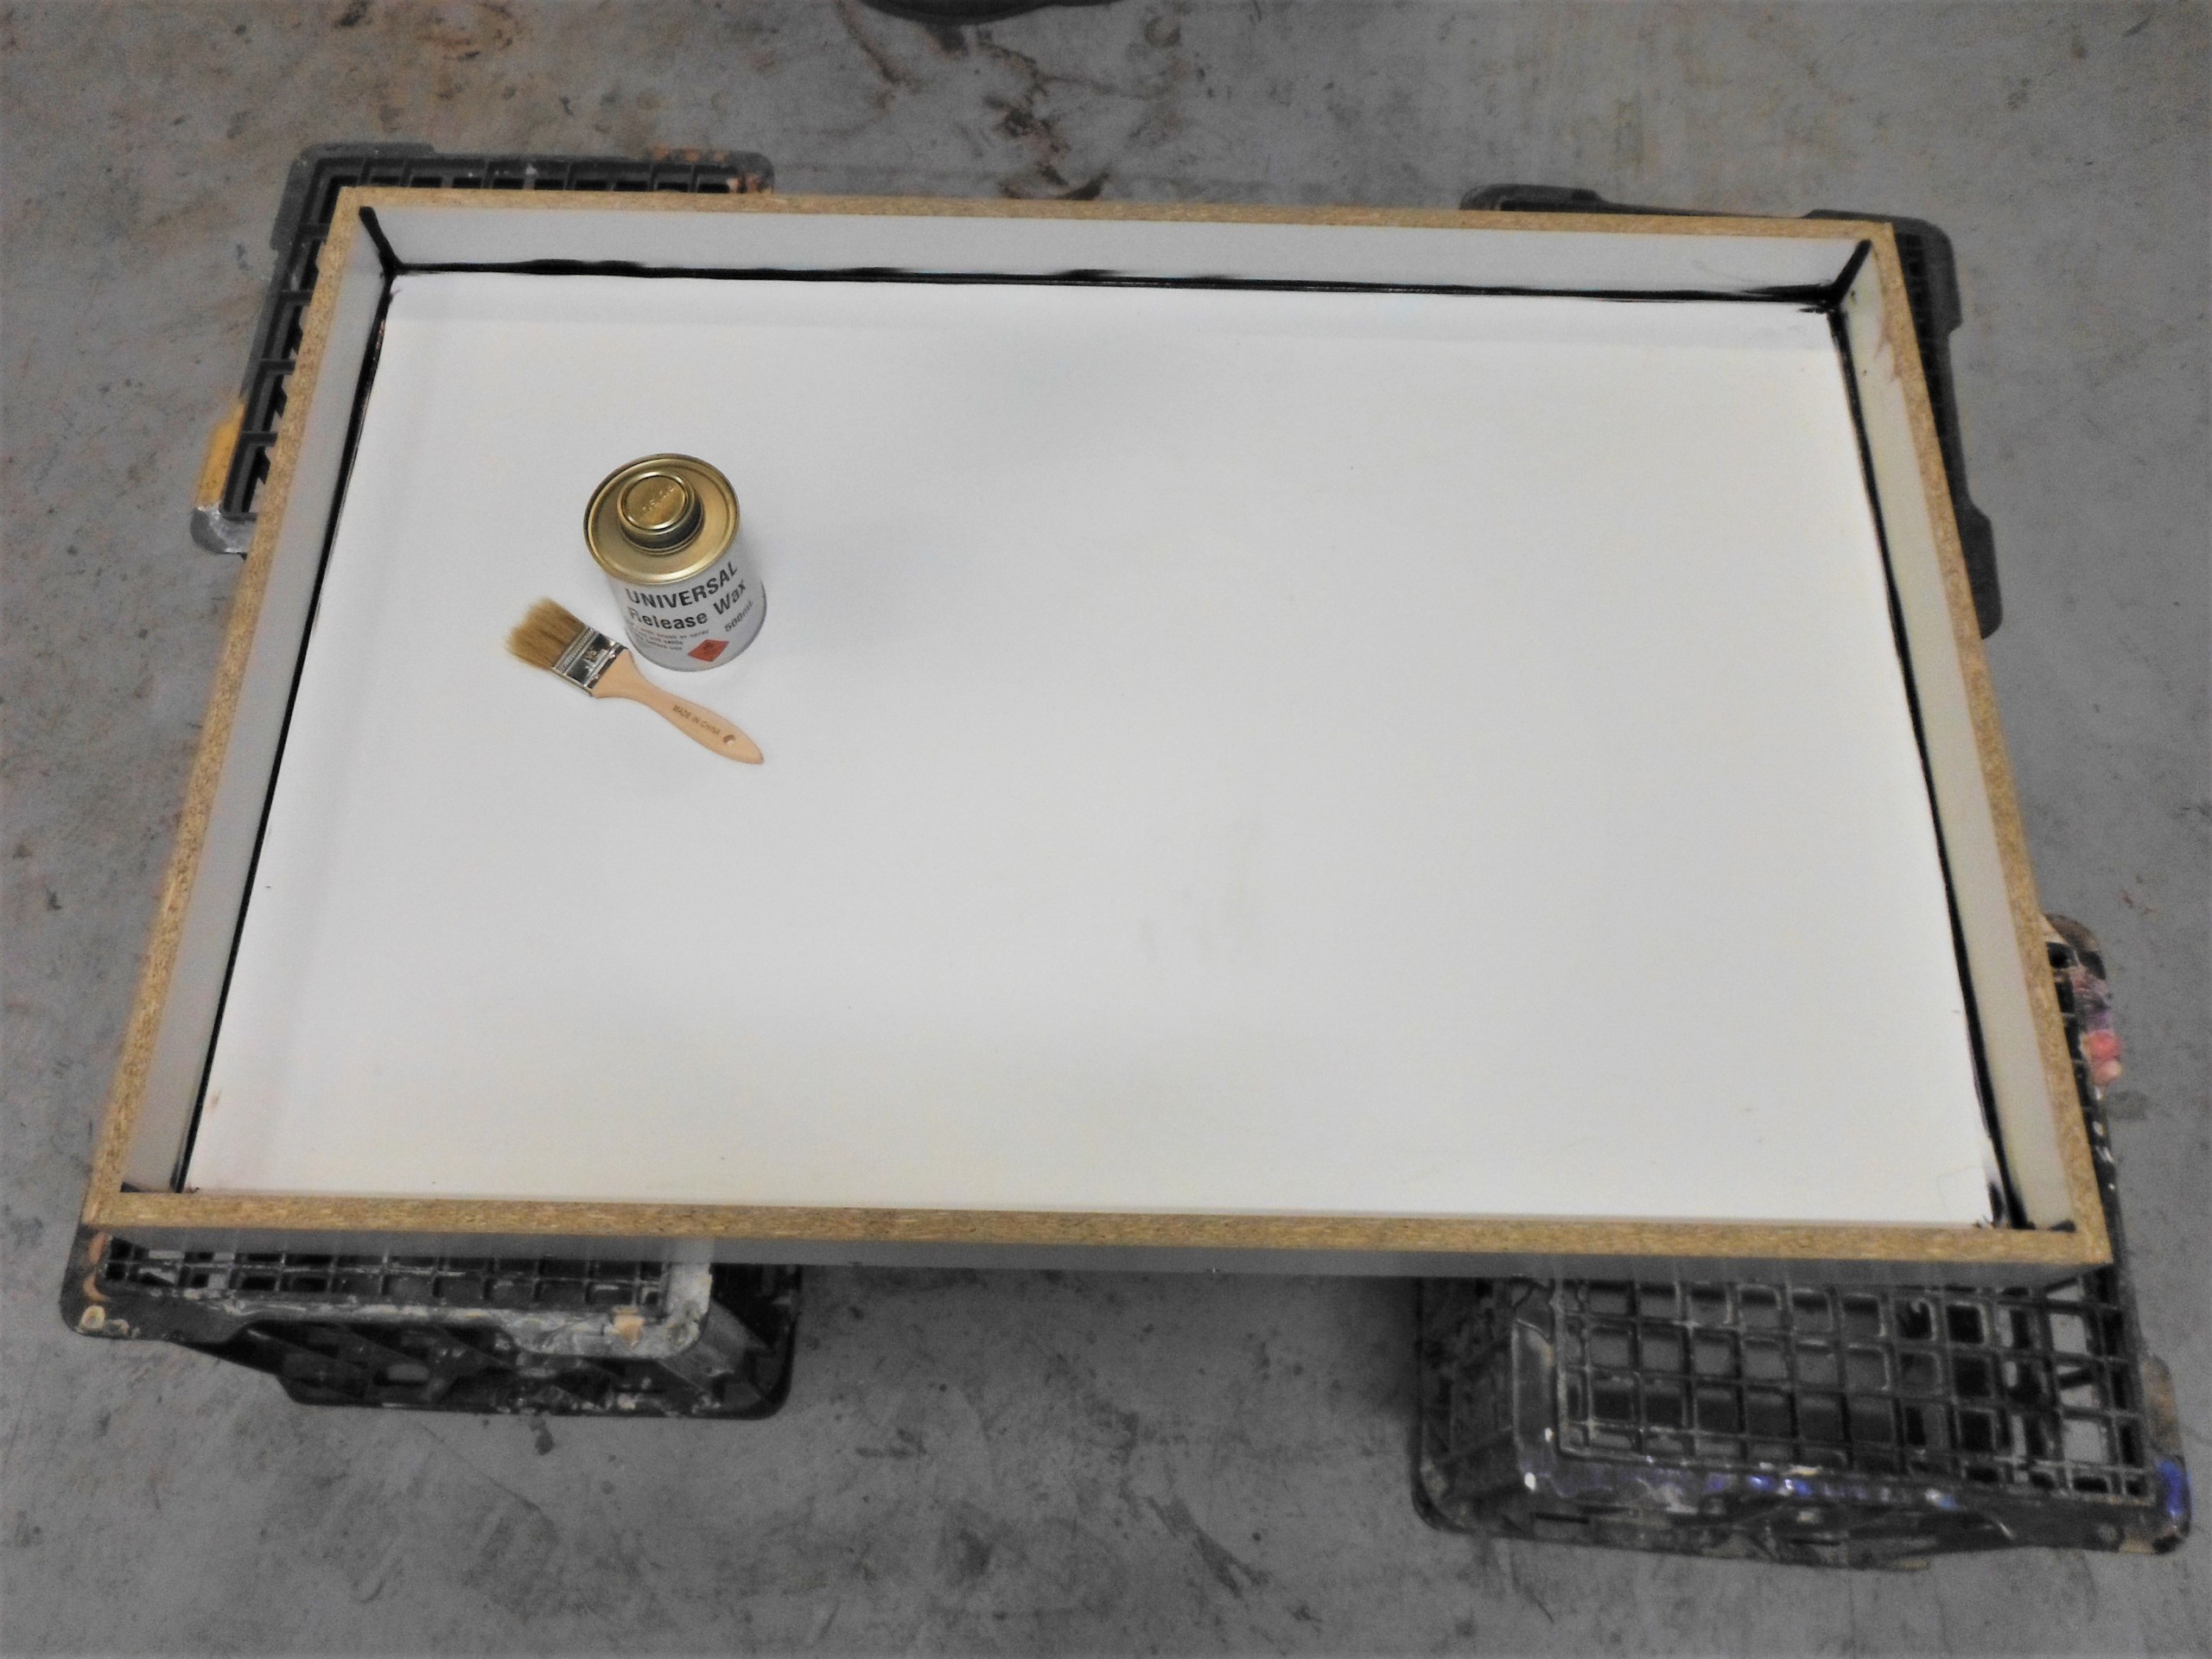
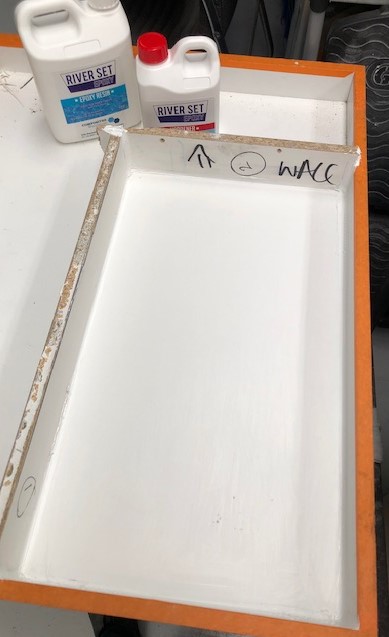
- Create a Box to serve as the basic form work or mould to contain the River Table. Ideally, we tend to choose Melamine, because it is cost effective, abundant, already sealed and ready to go, you can also use acrylic or plastic sheet, structural ply, metal or any other suitable sealed surface.
- Seal the corners of the melamine box by putting a bead of silicone sealant on all the edges, making sure no resin can seep through.
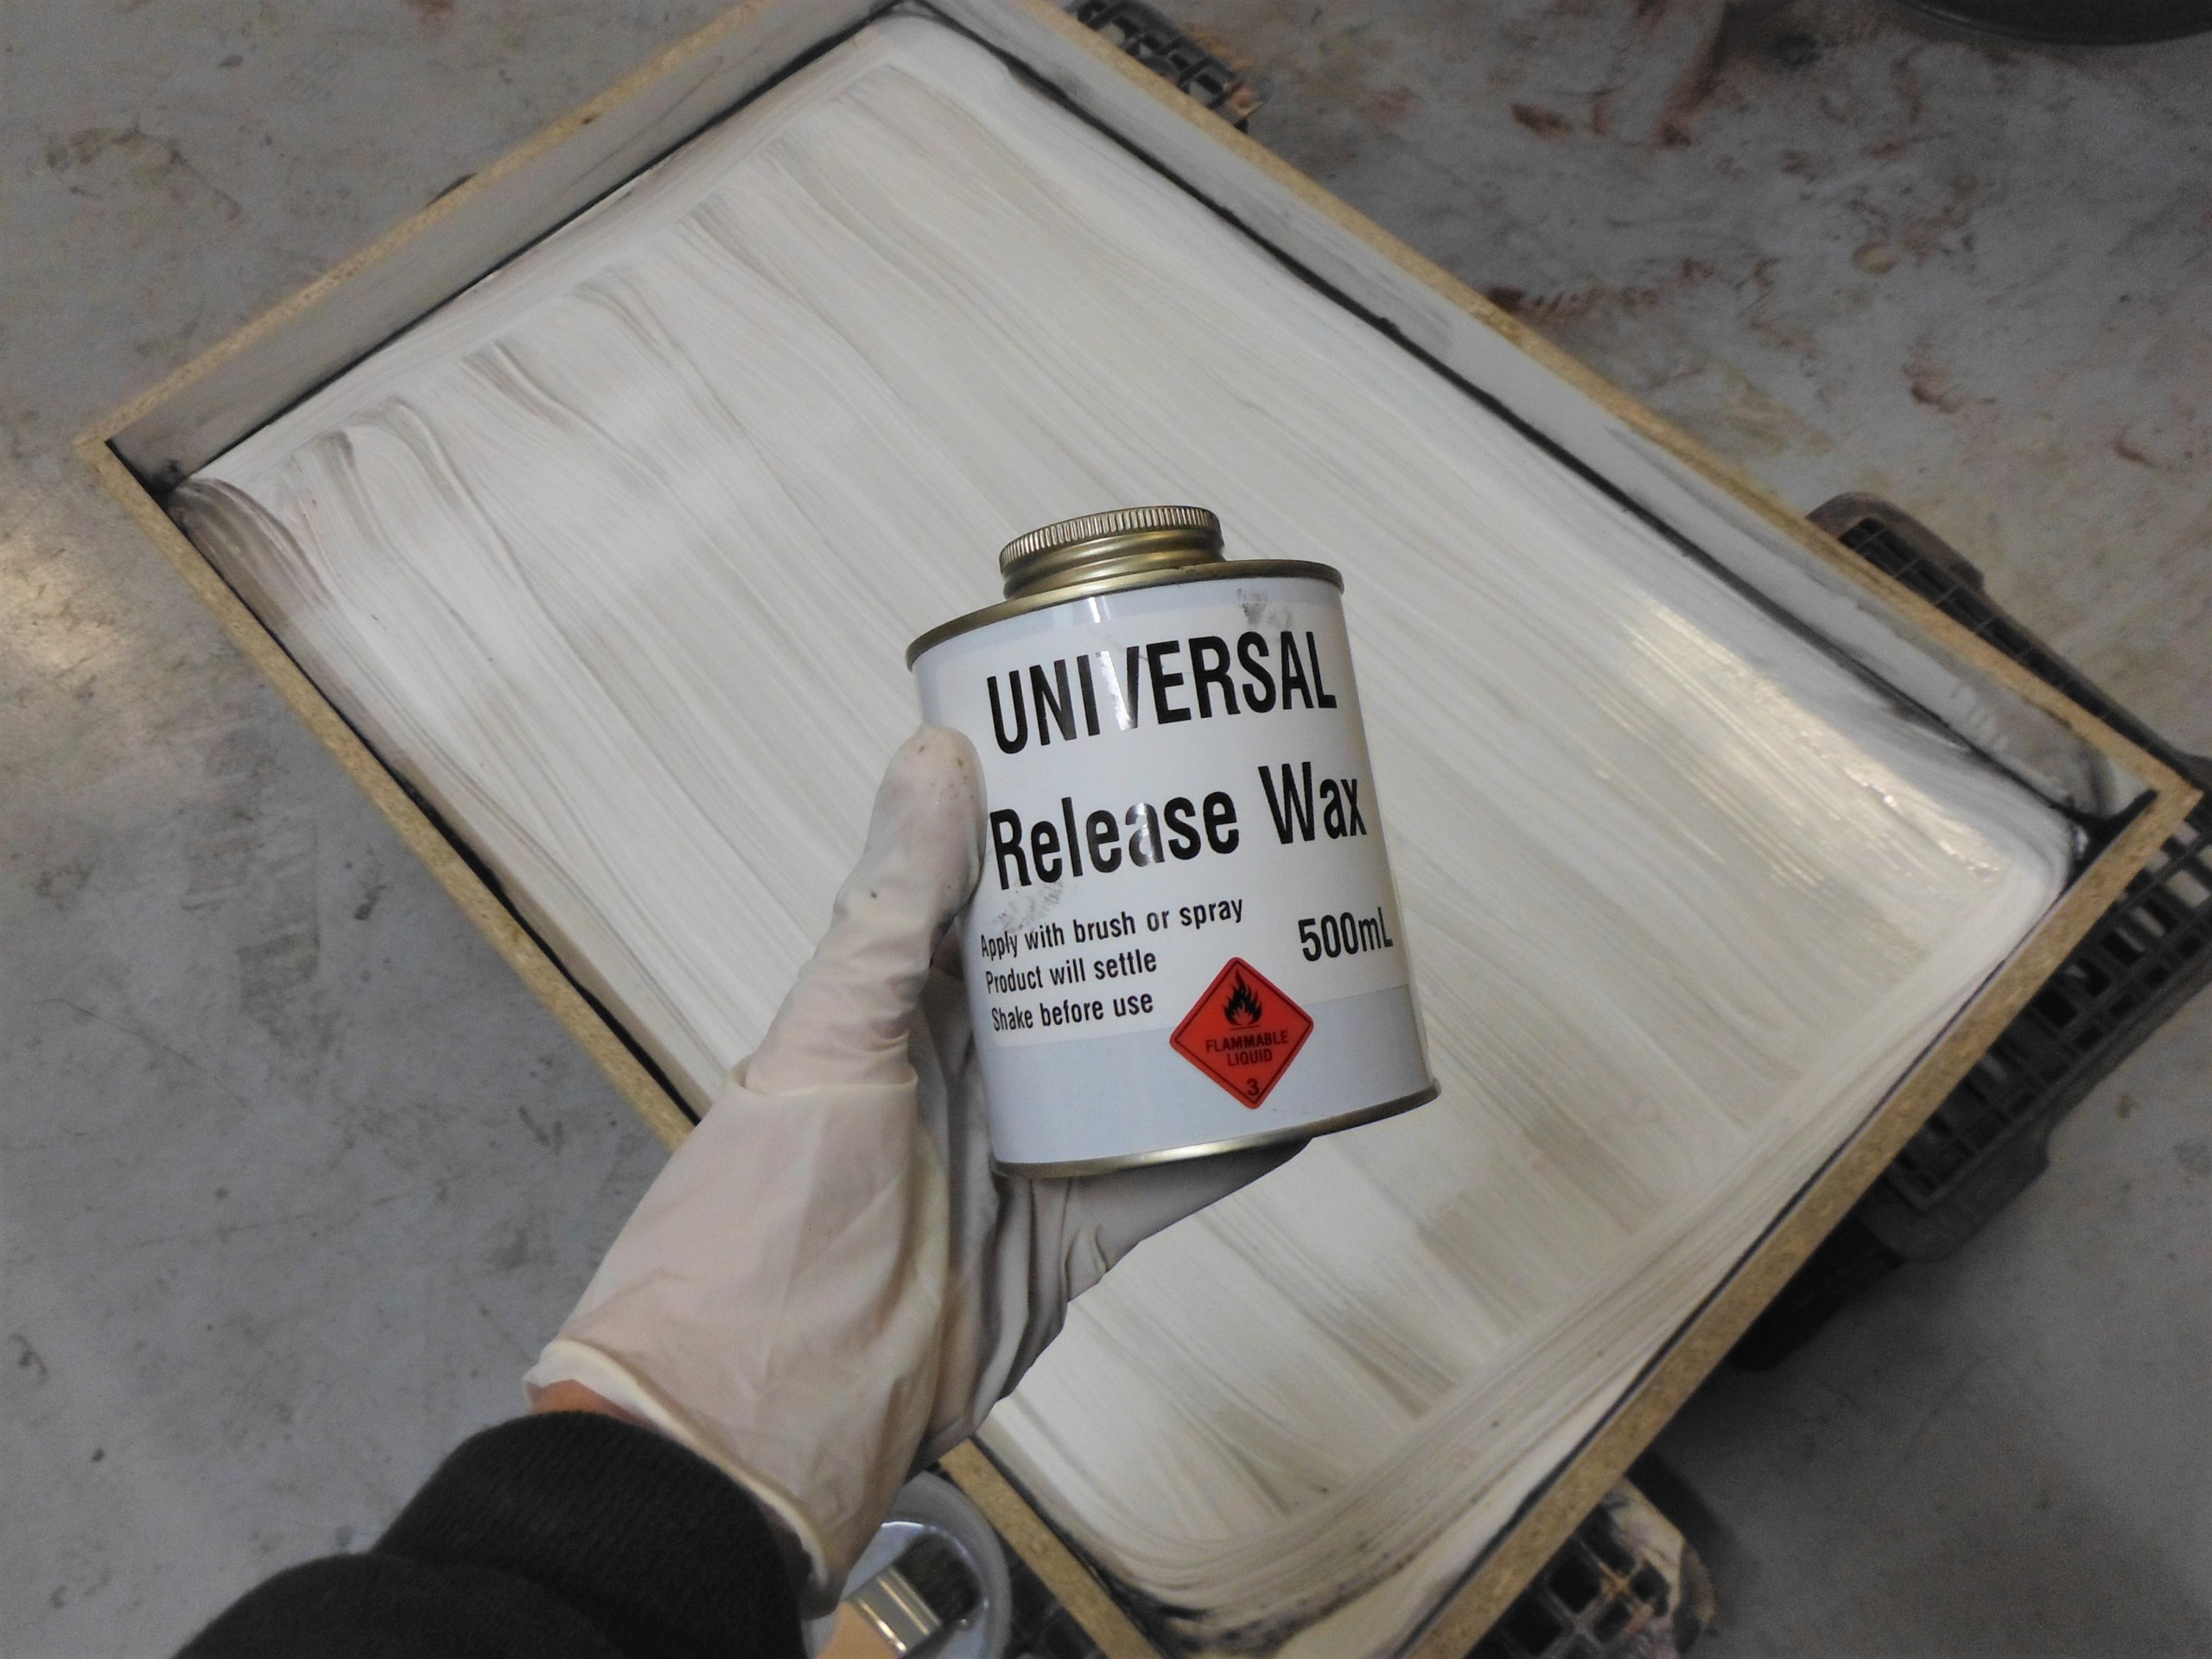
- Using a brush or spray, apply Universal Release Wax to the surface of the mould.
- Allow to dry, Apply 2-3 coats for best results.
Step 2 - Placing the Wood
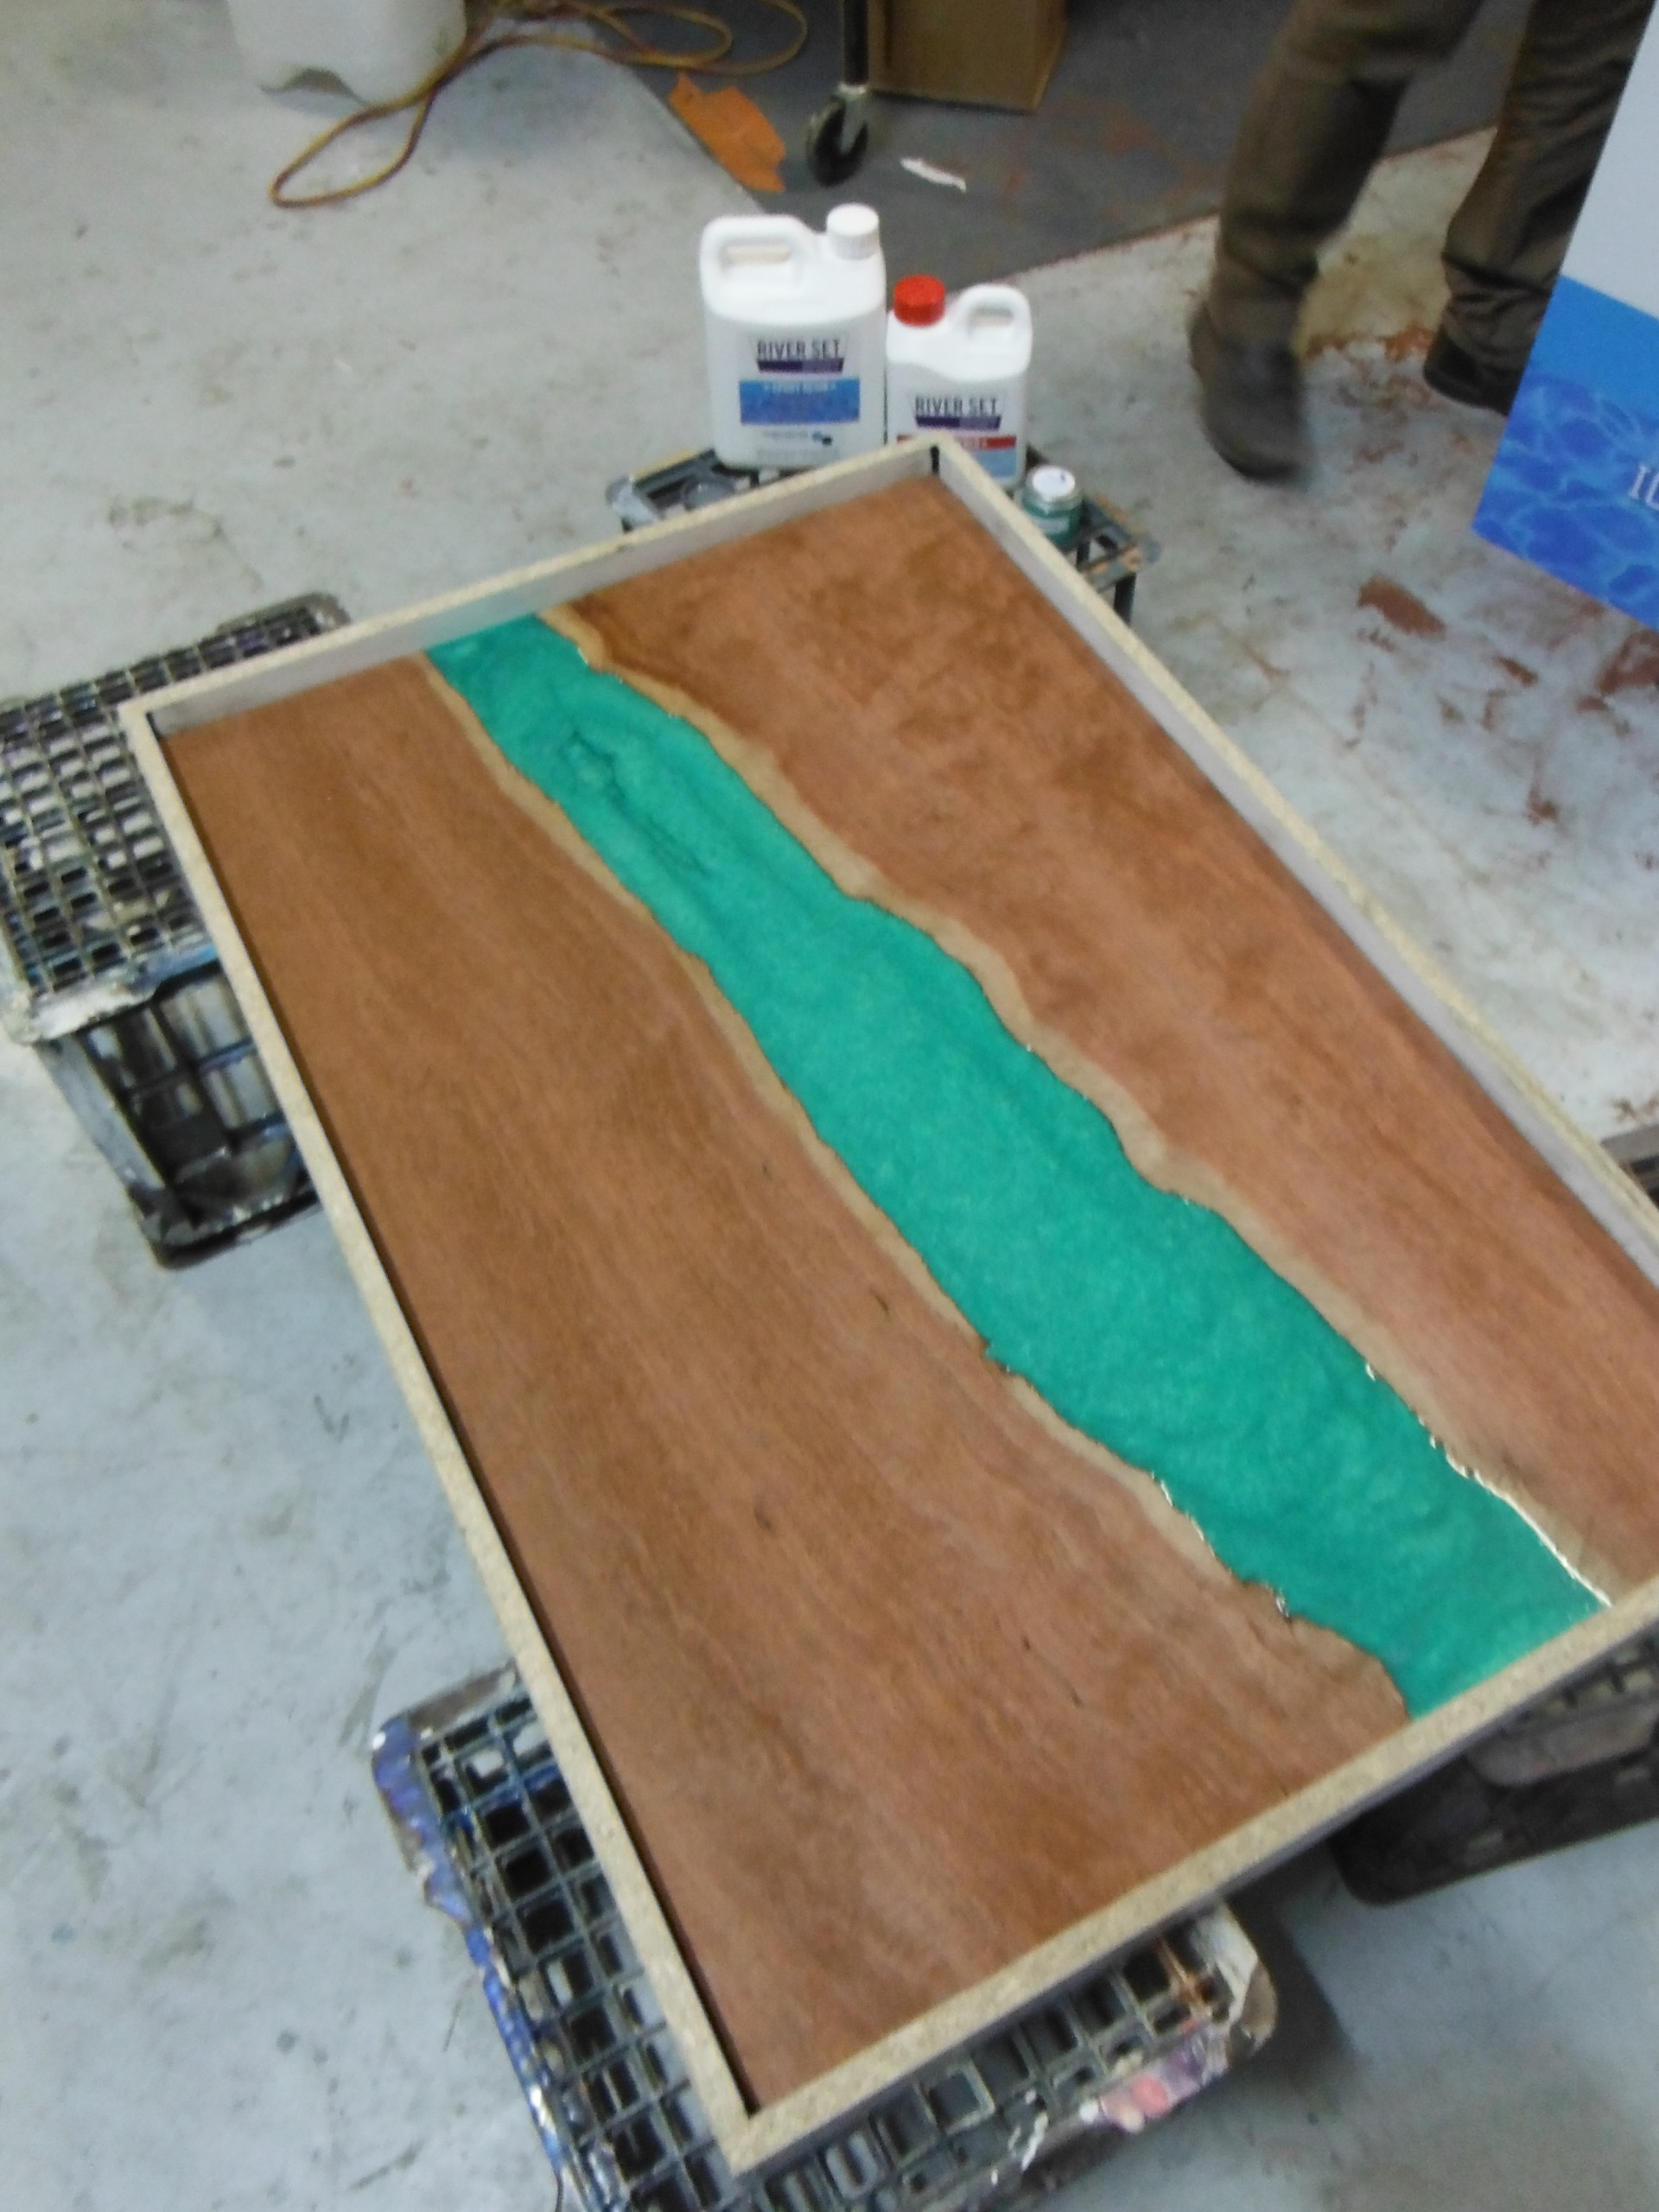
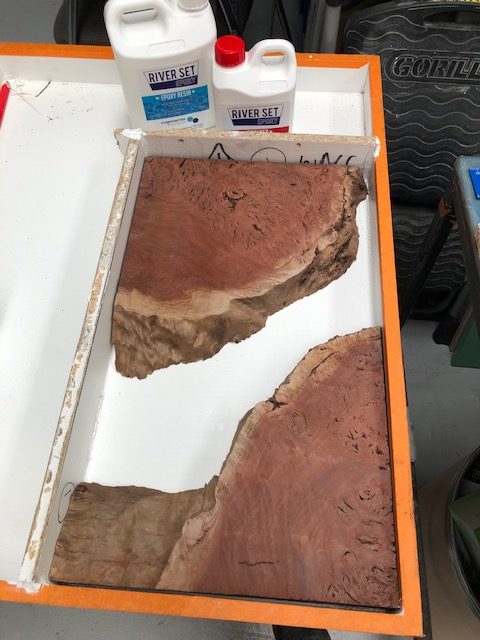
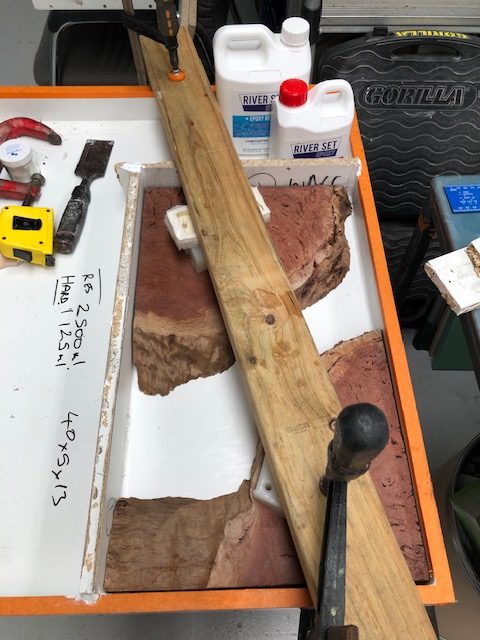
- Place the timber into the box.
- Clamp the timber down or place something heavy on top of it, to avoid it rising to the surface.
- Make sure the box is Level, in both directions.
Step 3 - Mixing the Resin
- Measure out and Mix your River Set Epoxy Resin Part A & River Set Hardener Part B. Using either scales (100:40) or graduated cups for volume (100:45)
- Ways to figure out the amount needed and the correct ratios can be found on the FAQ page.
- Use a mixer that does not induce too much air into the Resin. But you will still find there will always be some bubbles.
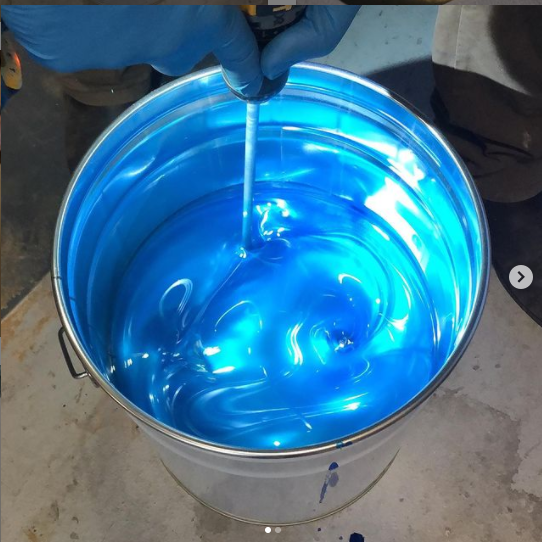
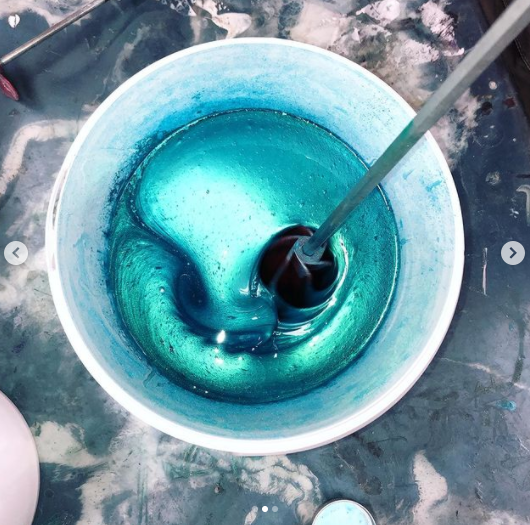
- Add your colour to the resin, mix thoroughly, minimum 5 minutes.
- You are now ready to pour the river.
Step 4 - Pouring the Table
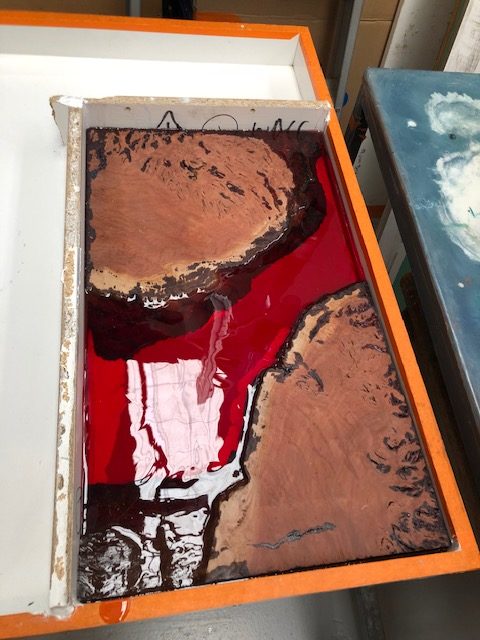
- As you will see the resin is self-levelling and very fluid so you can pour all the resin into one place and it will flow throughout the void.
- If you have mixed more than will fit in the river then keep it to one side and come back in an hour, the level may have dropped a little. Now you can top it up if required.
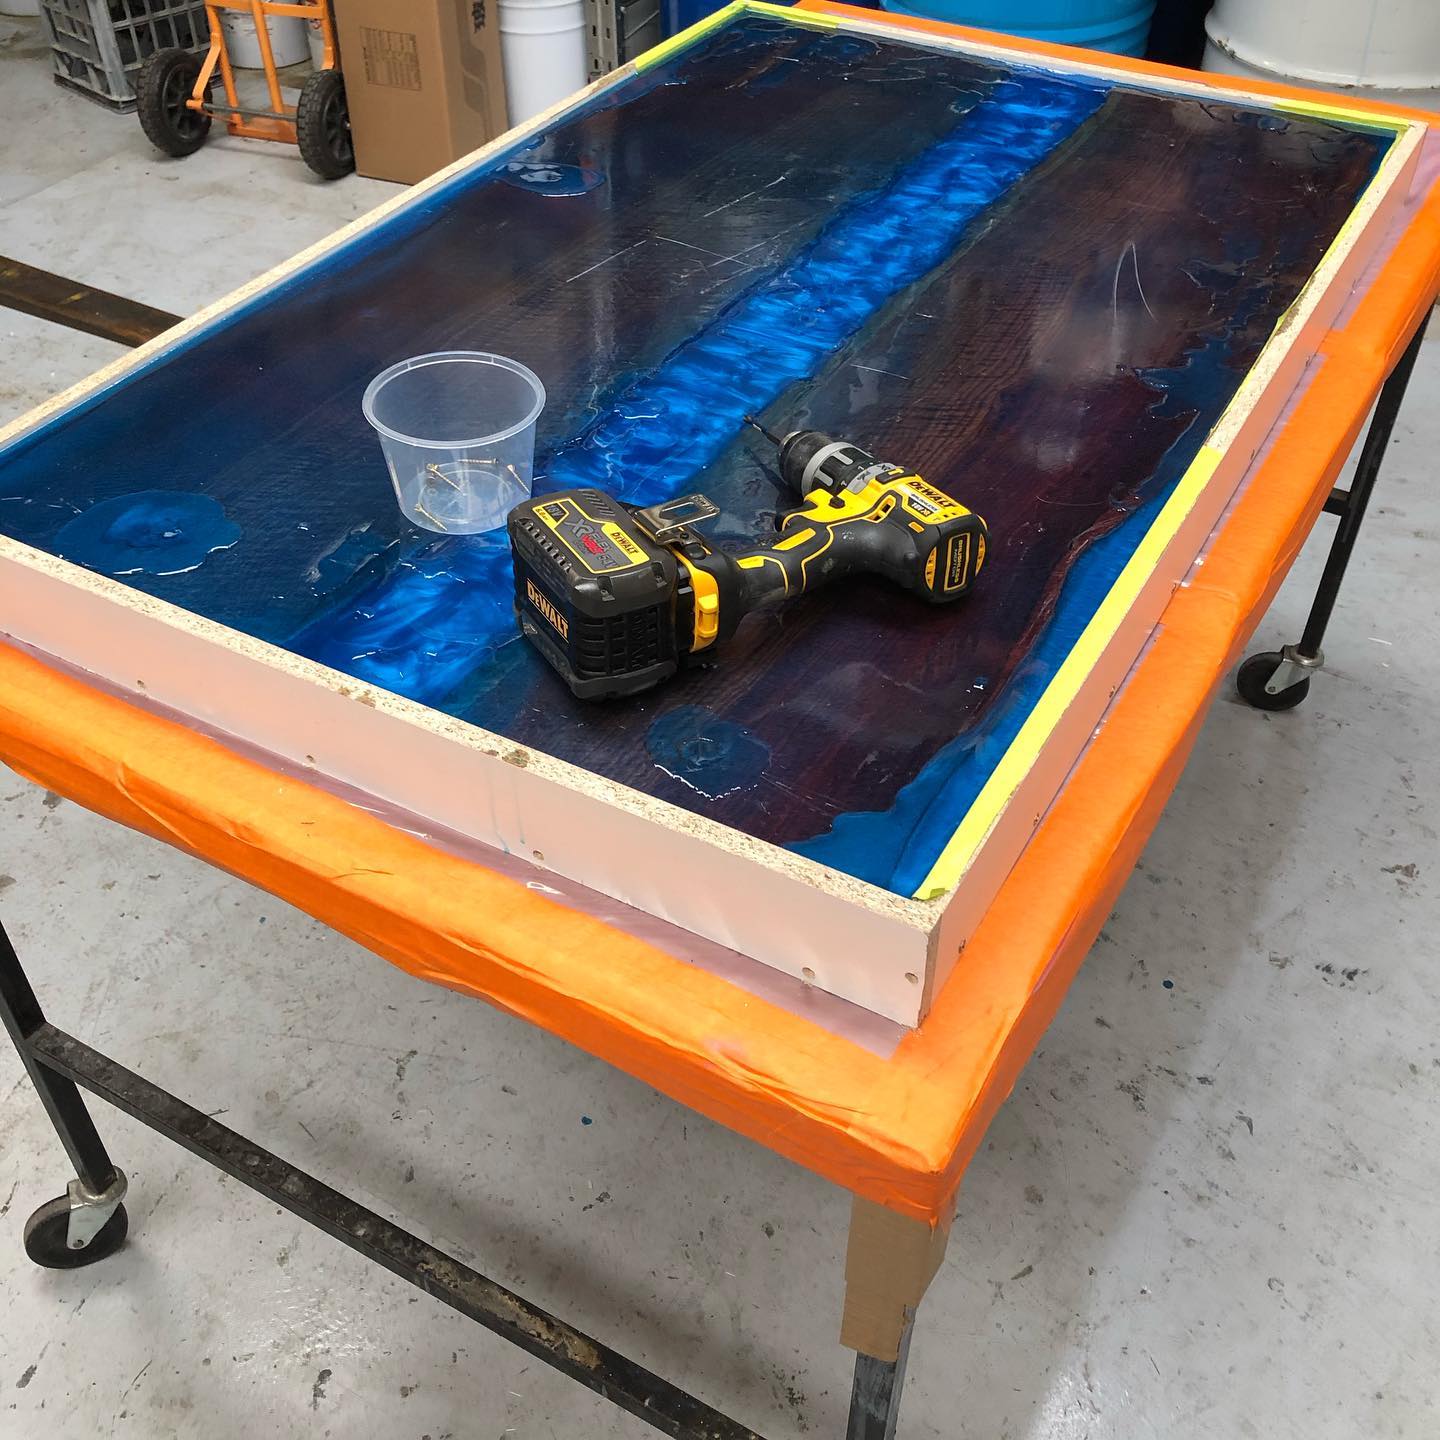
- The box and table now need to be left undisturbed for 3 days for the resin to set.
- If you find you need to cover your pour to stop bugs and dust from entering, don’t smother the table, place cover no less than 150mm above the table.
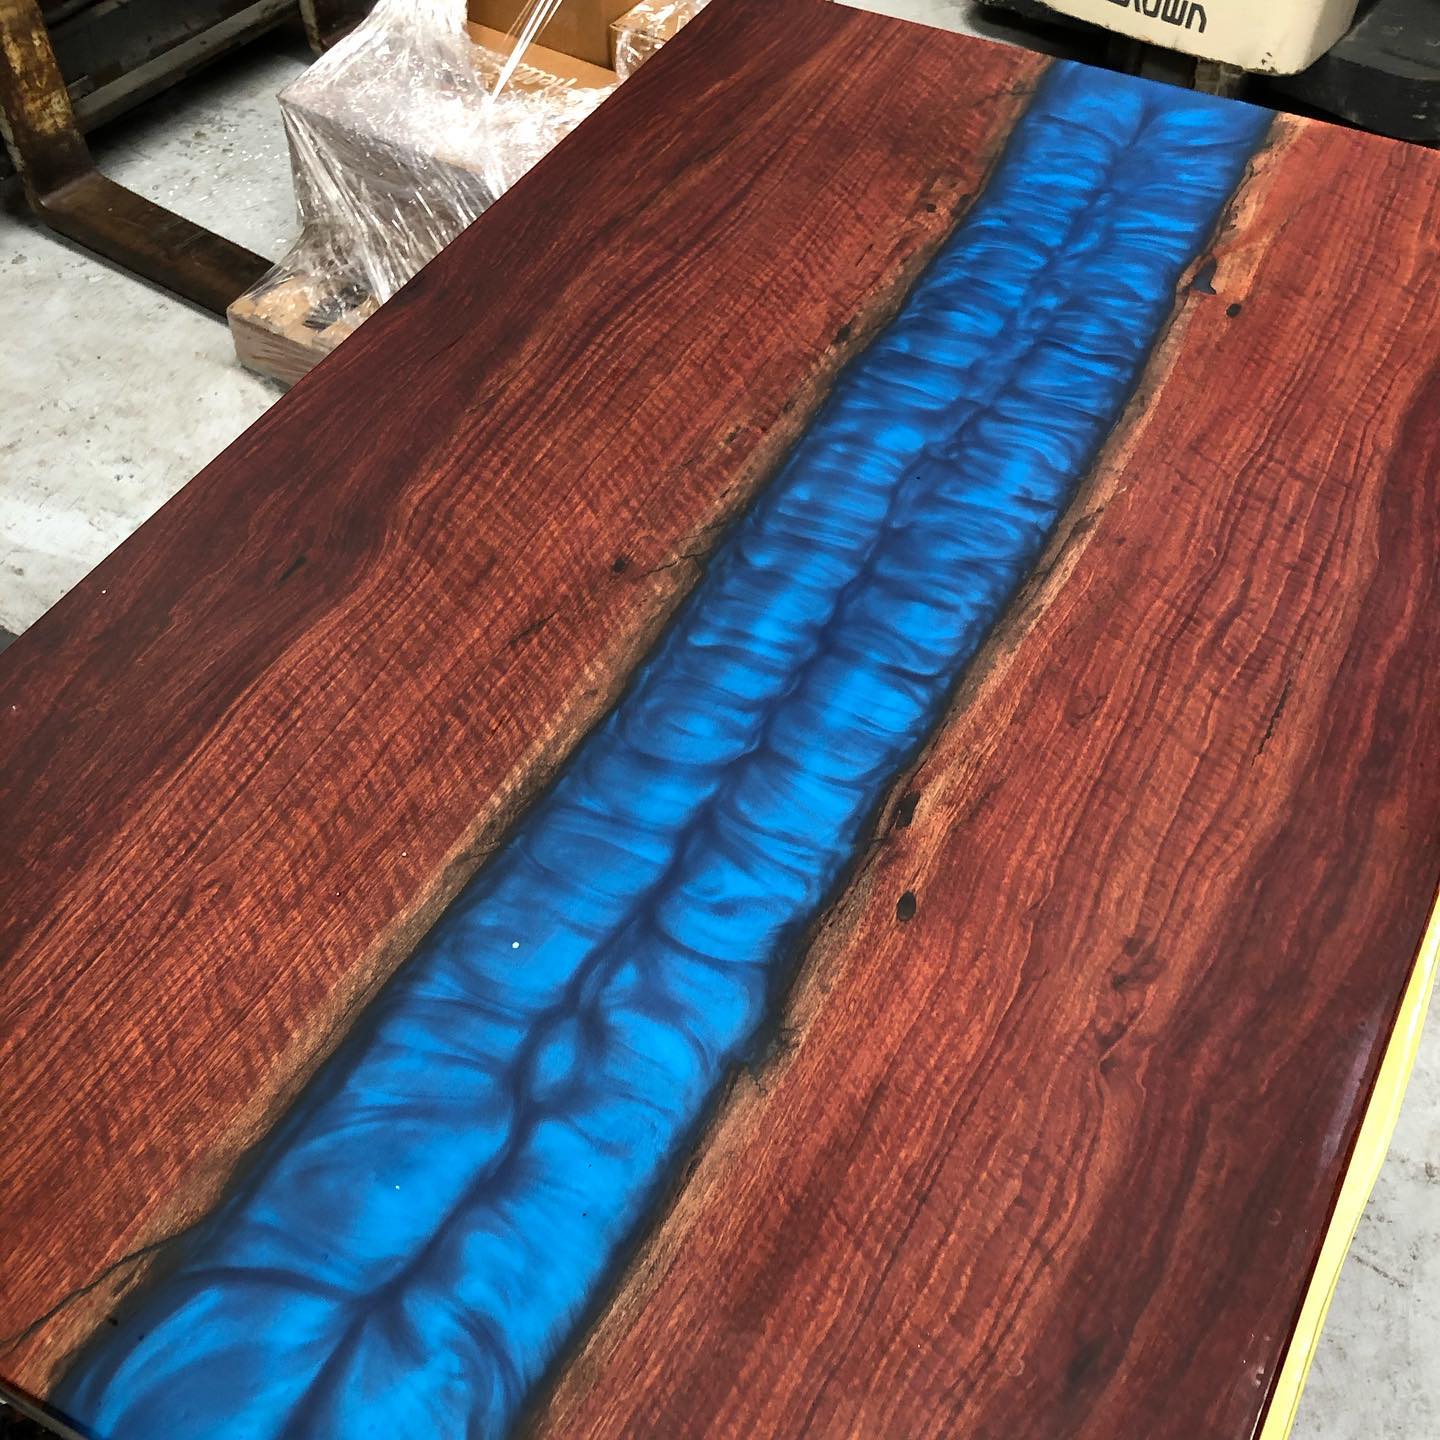
- I would recommend leaving for 5 -7 days before dismantling the box in Winter. This is variable based on the thickness of the pour and the Temperature. In Summer, 3 days should be sufficient.
