How to do Resin Art
What You'll Need to Get Started:
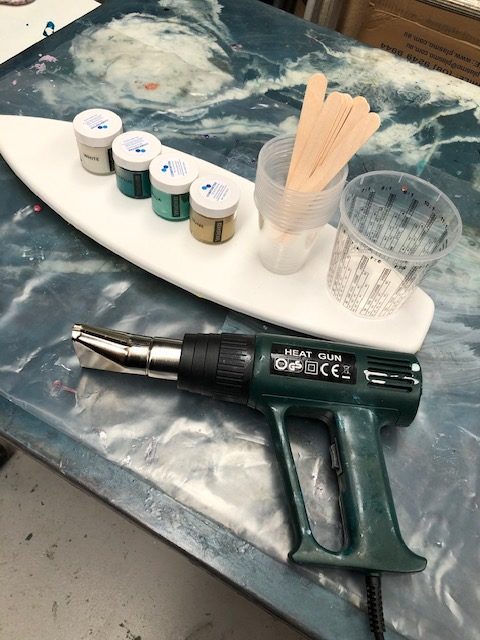
- EPOXY COATING RESIN I.E. GLASSCOAT OR EPOXYGLASS
- PRIMED ARTBOARD
- GRADUATED CUP OR SCALES
- PIGMENTS
- MIXING CUPS
- MIXING STICKS
- PLASTIC DROP SHEET
- MASKING TAPE
- HOT AIR GUN
What to Consider Before Starting:
- SURFACE IS LEVEL
- TEMPERATURE IS UNDER 30 DEGREES
Safety Measures:
- ALWAYS WEAR GLOVES HANDLING EPOXY RESIN. RESPIRATION EQUIPMENT OPTIONAL
- ENSURE NO SOLVENTS PRESENT WHEN OPERATING HEAT GUN
Step 1 - Preparation
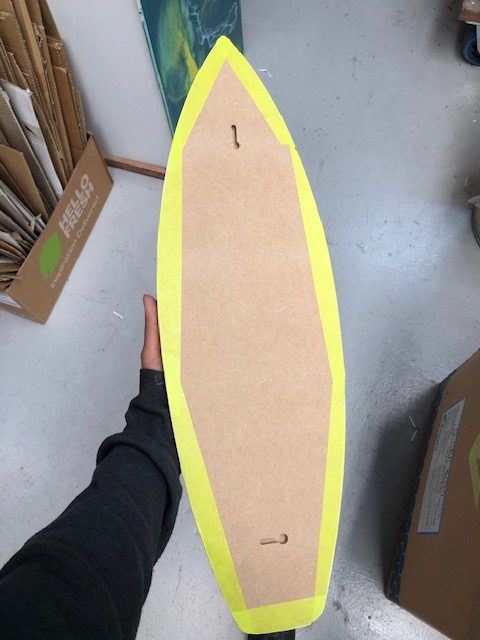
- Prepare the artboard or whatever surface you are using by priming the surface with an acrylic paint and taping up the underside to catch the drips that will form afterwards. (SEE IMAGE BELOW)
- Ensure the surface is level, place down drop sheet and then using objects around the house. Elevate the artboard so that it is not sitting on the drop sheet but slightly hovering above it, this will allow the resin to drip off undisturbed.
Step 2 - Mixing the Resin
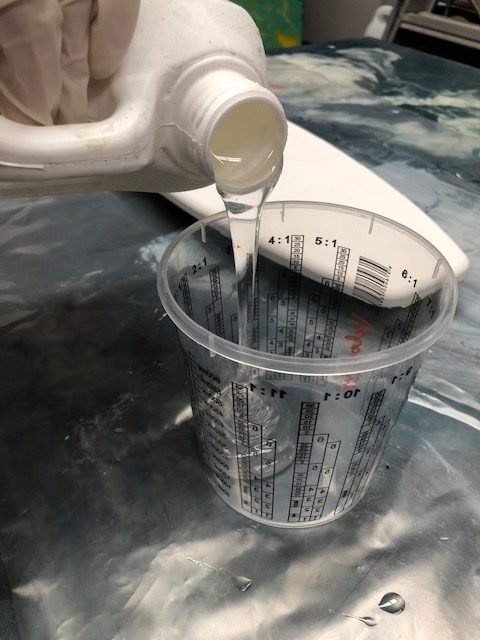
- Using either graduated cups or scales (depending on what type of resin you are using - and what the instructions on the resin say)
- Mix resin for 5 minutes - making sure to scrape the sides of the container and the bottom of the container
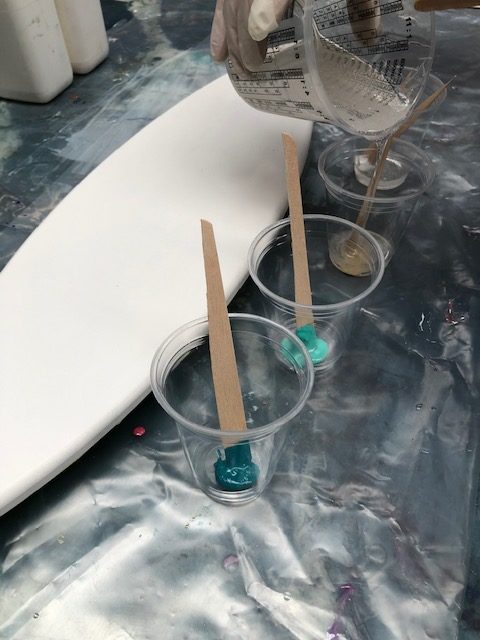
- Then, separate resin mixture into small cups - one for each colour you are going to use, then grabbing a half teaspoon of pigment on the end of a pop stick, mix in with the resin.
- This should leave you with an assortment of colours ready to be poured.
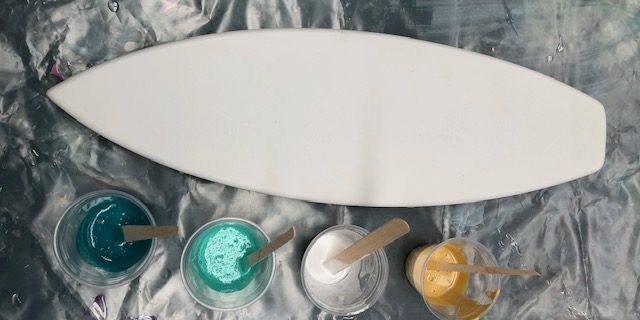
Step 3 - Putting Colours Down
- Pour each colour onto the artboard, anywhere you desire.
- Then using the heat gun gently warm up the resin on the artboard - blowing the air up and down the length of the artboard. this will burst all of the topical bubbles and make the resin easier to move on the board.
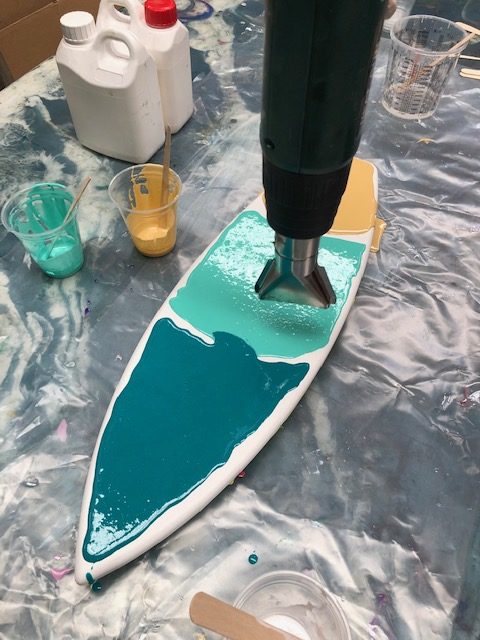
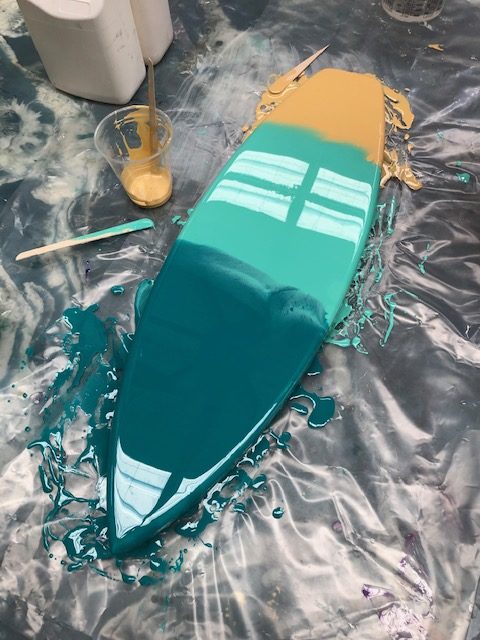
Step 4 - Moving the Colours & Celling
- Continue moving colours with the heat gun, blending them into each other to get different effects.
- Using a brush gently take a bit of the resin you are using and brush it around the edge of the artboard to allow the resin to fall easier, when using the heatgun to push the resin.
- Focusing the heat gun more on an area can cause the colours to bleed into one another and can create an effect called 'celling' or 'lacing'
- For the best lacing possible add the colour on top of previously poured colours - like we have done below with the white. Then using the heat gun push upwards - the heat gun should be almost parallel with the artboard
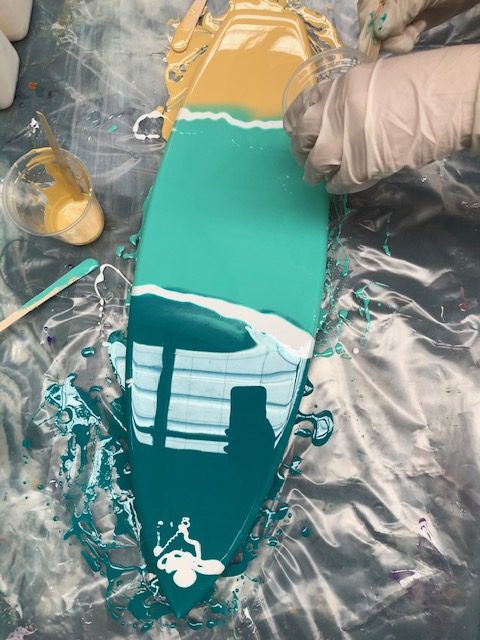
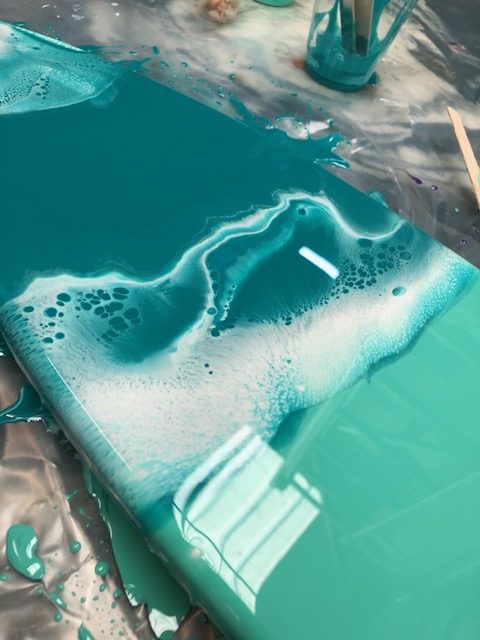
Step 5 - Finalizing your piece
- To finish your piece, allow to sit - undisturbed and cover to stop any dust or bugs from falling into it - usually a cardboard box over the top is sufficient.
- If needed you can do over the top once it is cured with a clear layer of resin, just to give it an art gallery finish.
- The tape on the underside removes easily if you get it off not long after it has cured - if you miss this point and find it doesn't come off easily you can use a heat gun and a stanley knife to warm you the droplets and slice off with the knife.
If you have any questions about this process, let us know: